
Add Purchase
Record a new purchase bill from a supplier, either manually, via scan, or by importing a CSV/Excel file.
The Add Purchase page is where you record stock coming into your pharmacy from a supplier. Enter the supplier and invoice details, add drugs to the bill line by line, and MediFlux automatically calculates taxes, totals, and margins as you go.
Purchase Details
At the top of the page, enter:
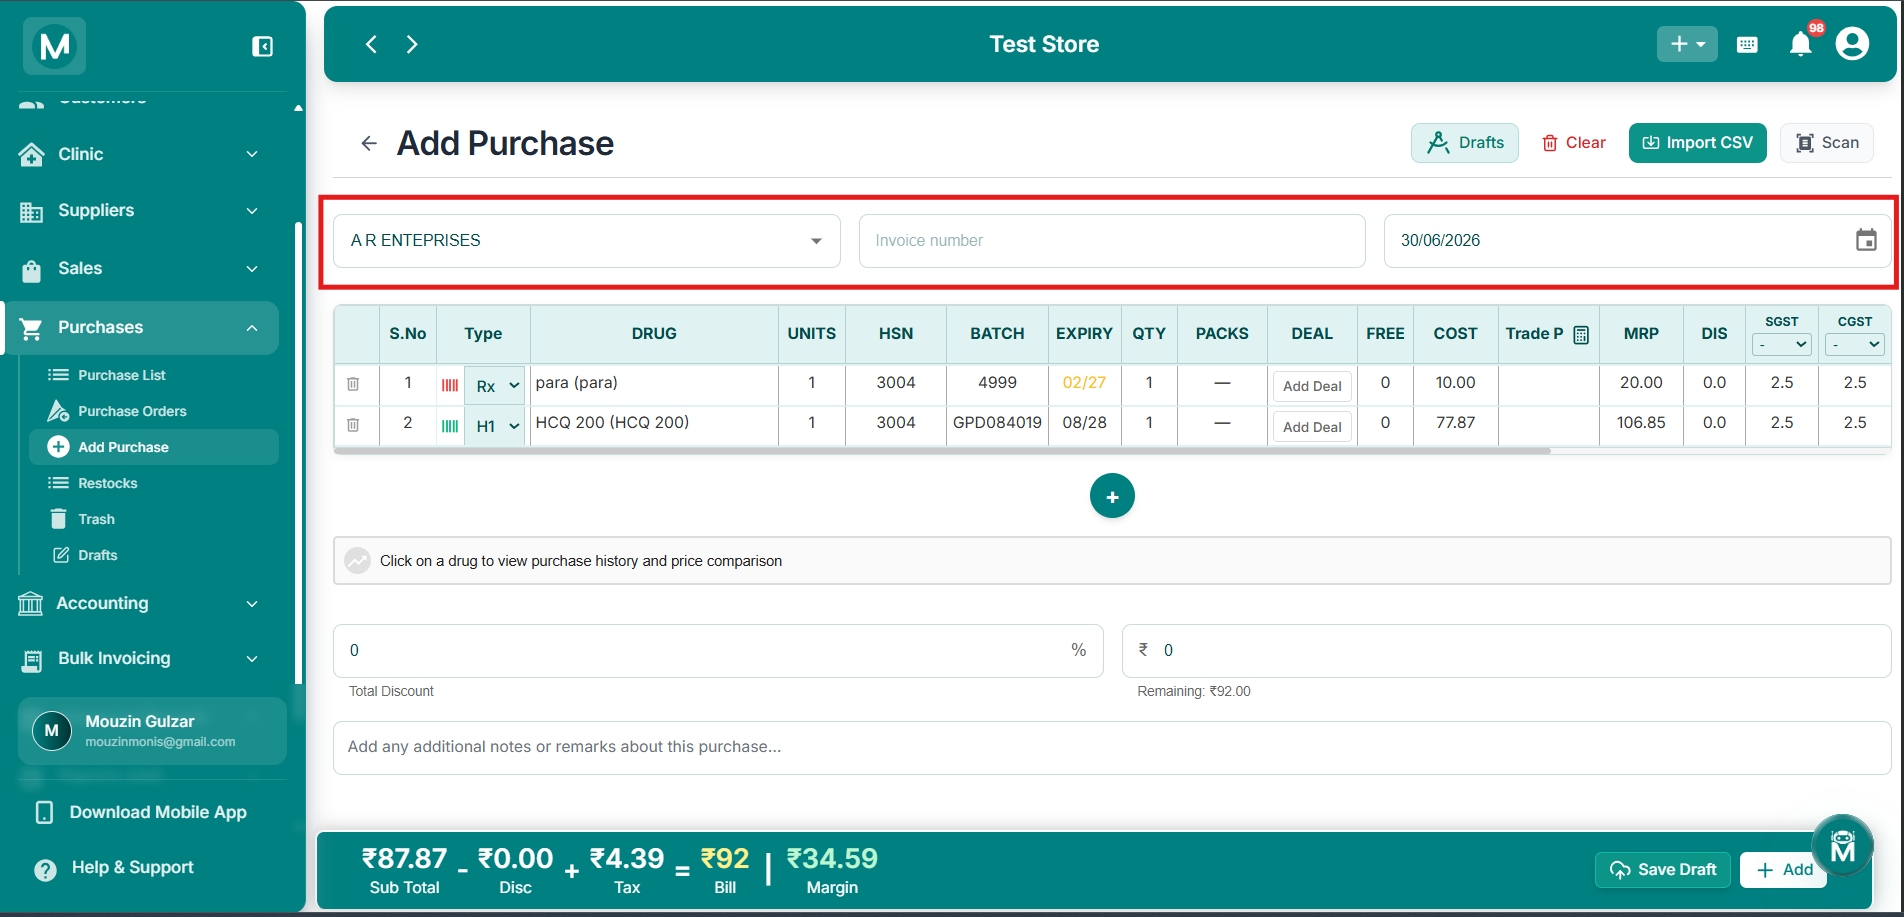
Purchase Details
Select supplier, enter invoice number, and set the purchase date.
Adding Drugs To The Bill
Each row in the purchase table represents one drug being purchased. You can add a new row using the + button below the table, or remove a row using the trash icon on the left of that row.
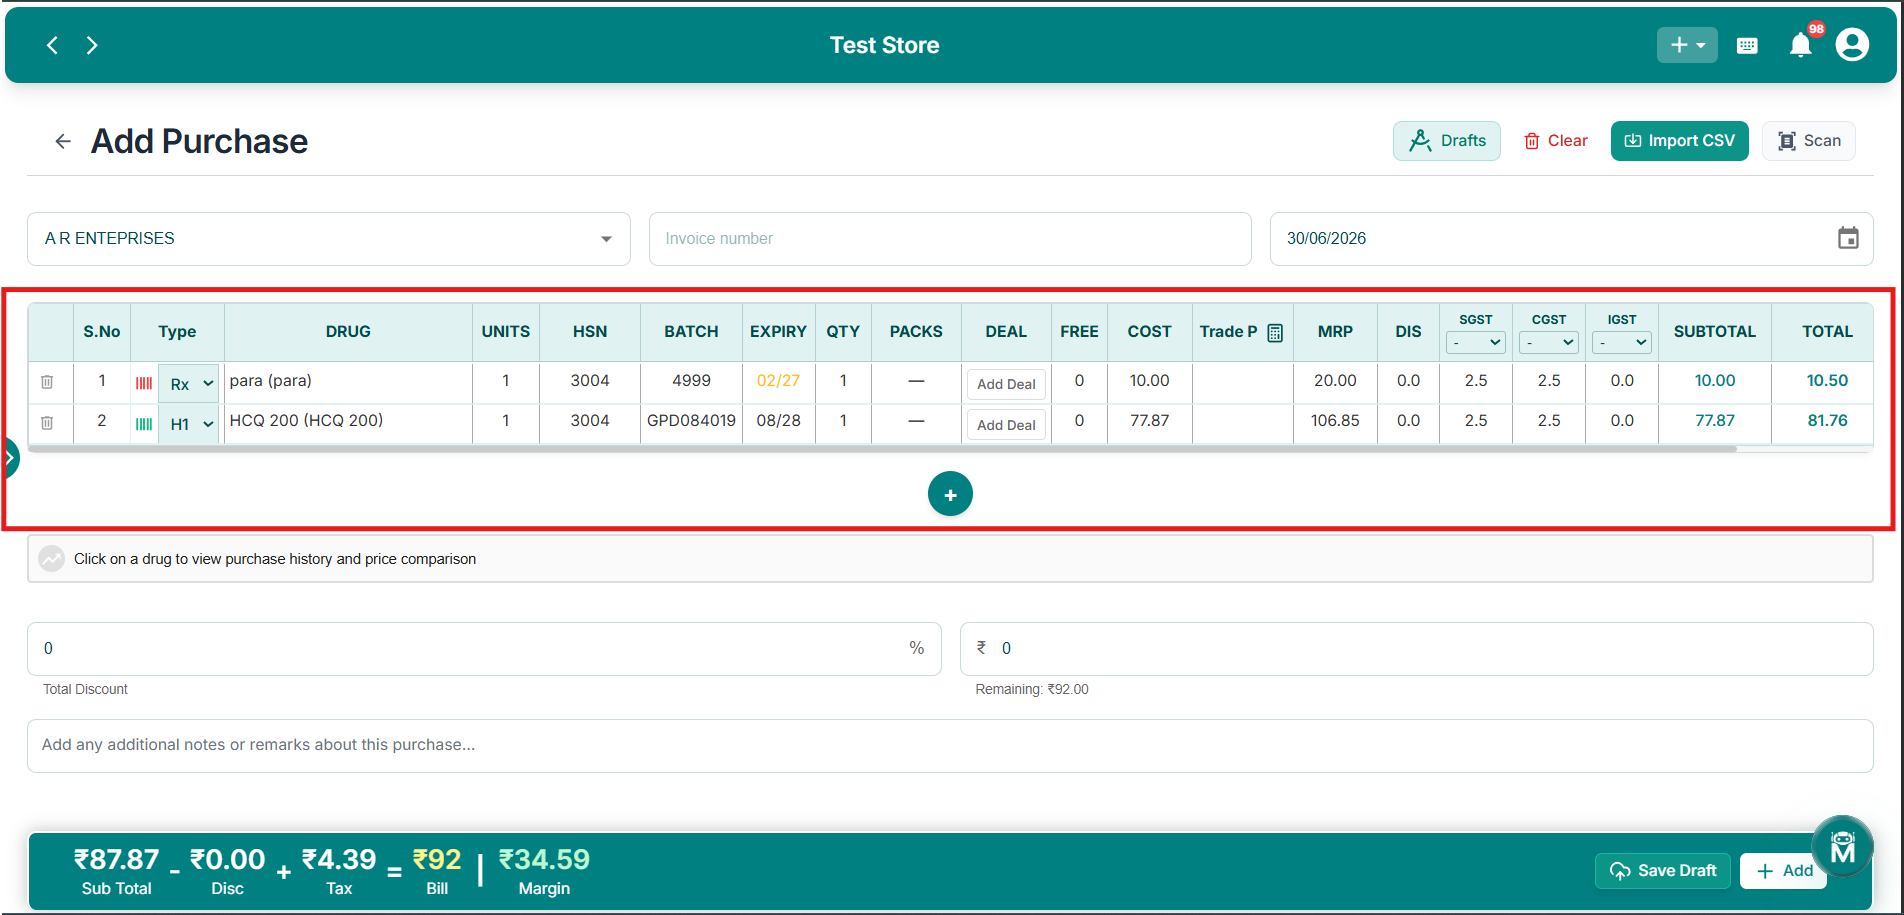
Purchase Table
Add drugs line by line with batch, expiry, quantity, cost, MRP, and tax details.
Once you select a drug and enter its expiry date, MediFlux shows a price comparison note below the table, for example, flagging if the cost has decreased or increased compared to the average purchase price for that drug. Clicking the expand icon on this note opens more detail.
Adding A Deal
Click Add Deal on any line item to open the Add Deal popup:
Click Save Deal to apply it to that line item, or Cancel to close without saving.
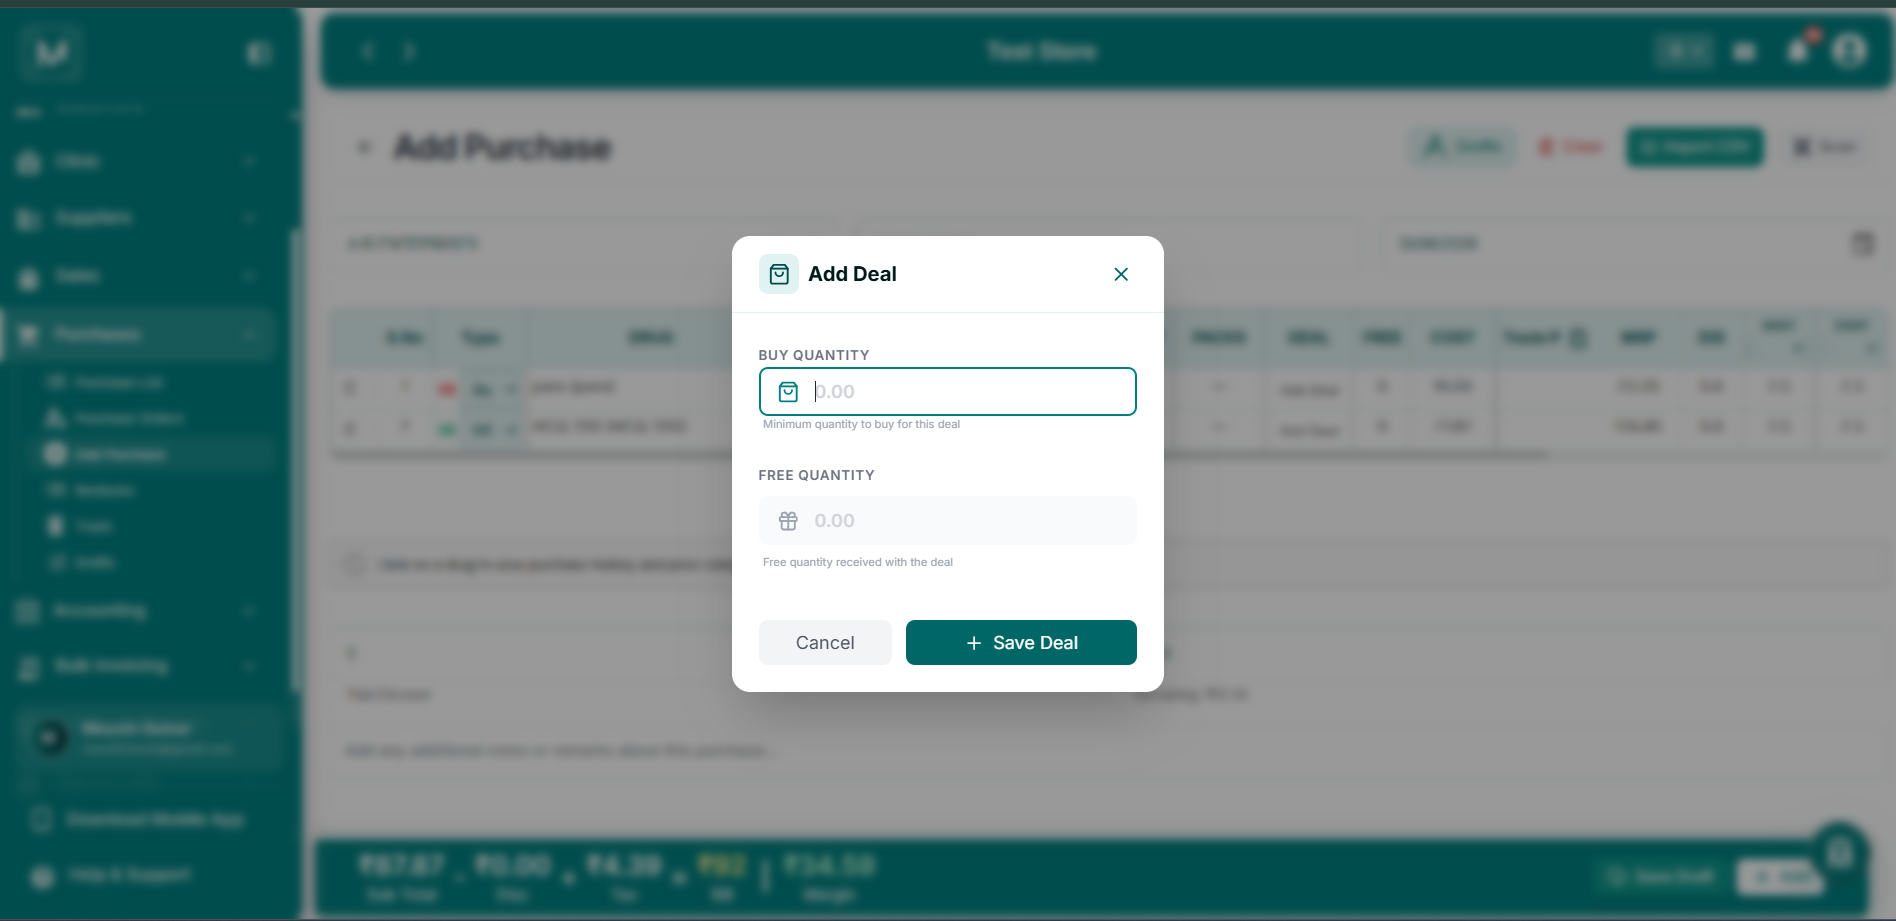
Add Deal
Set buy and free quantities for supplier deals on any line item.
Discount, Payment, And Notes
Below the drug table:
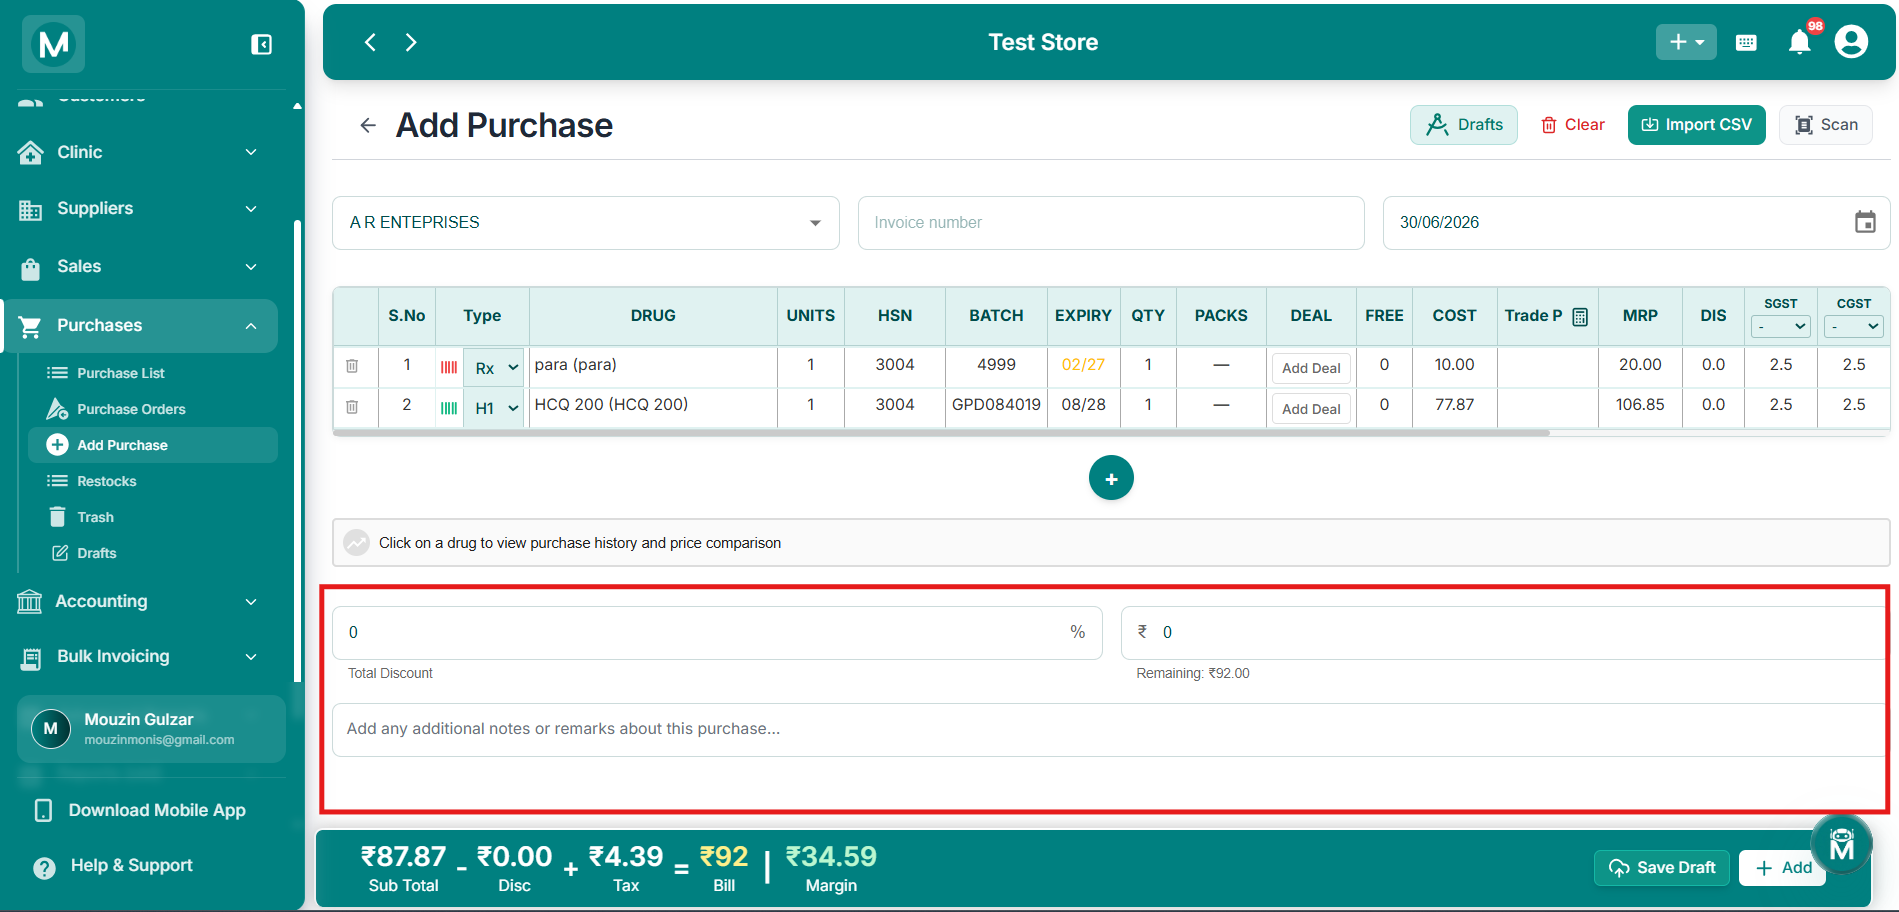
Discount and Payment
Apply overall discount, record amount paid, and add notes.
Bill Summary
The bar at the bottom of the page shows a running summary as you build the bill:
From here, you can Save Draft to save the purchase without finalising it, or click Add to record it as a completed purchase.
Scan
Click Scan to upload a photo or scan of the supplier's physical invoice. This opens your device's file picker, letting you select an image of the bill. Once uploaded, MediFlux reads the bill and pre-fills the drug rows automatically, the scanned bill also appears under Drafts so you can review it before finalising.
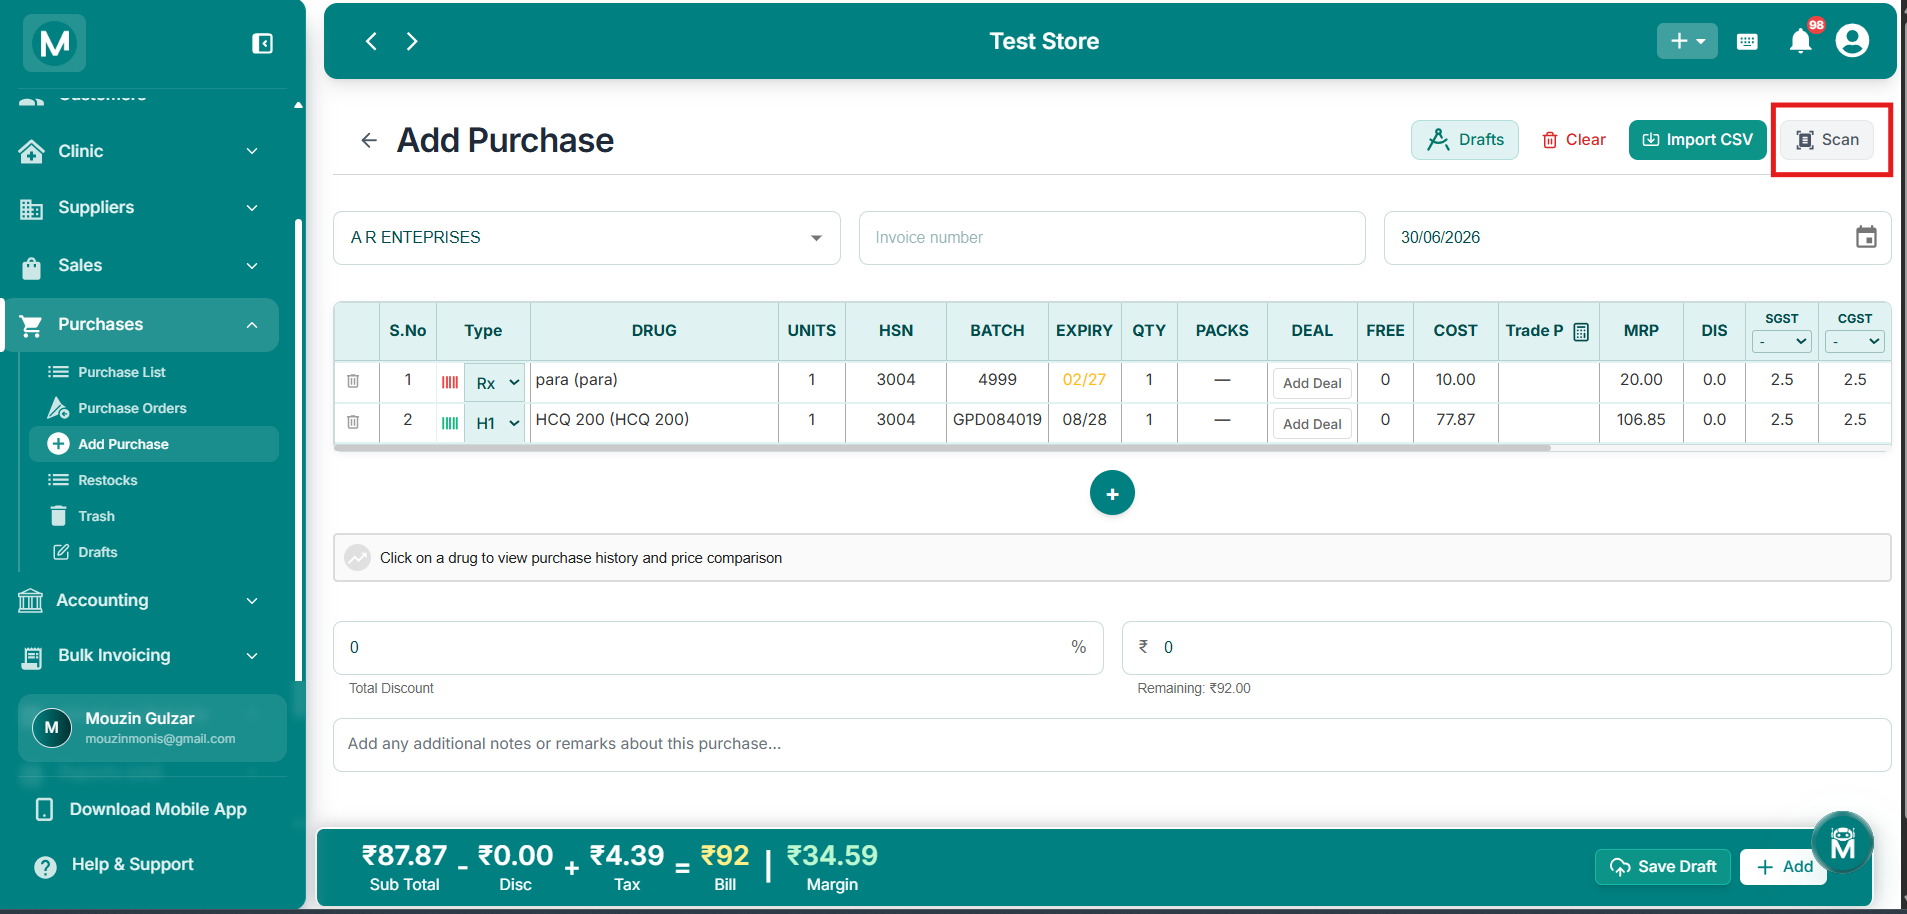
Scan Invoice
Upload a supplier invoice photo to auto-read and pre-fill drug rows.
Import CSV
Click Import CSV to bulk-import purchase data from a CSV or Excel file. This opens the Import Purchase Data dialog, which walks you through three steps:
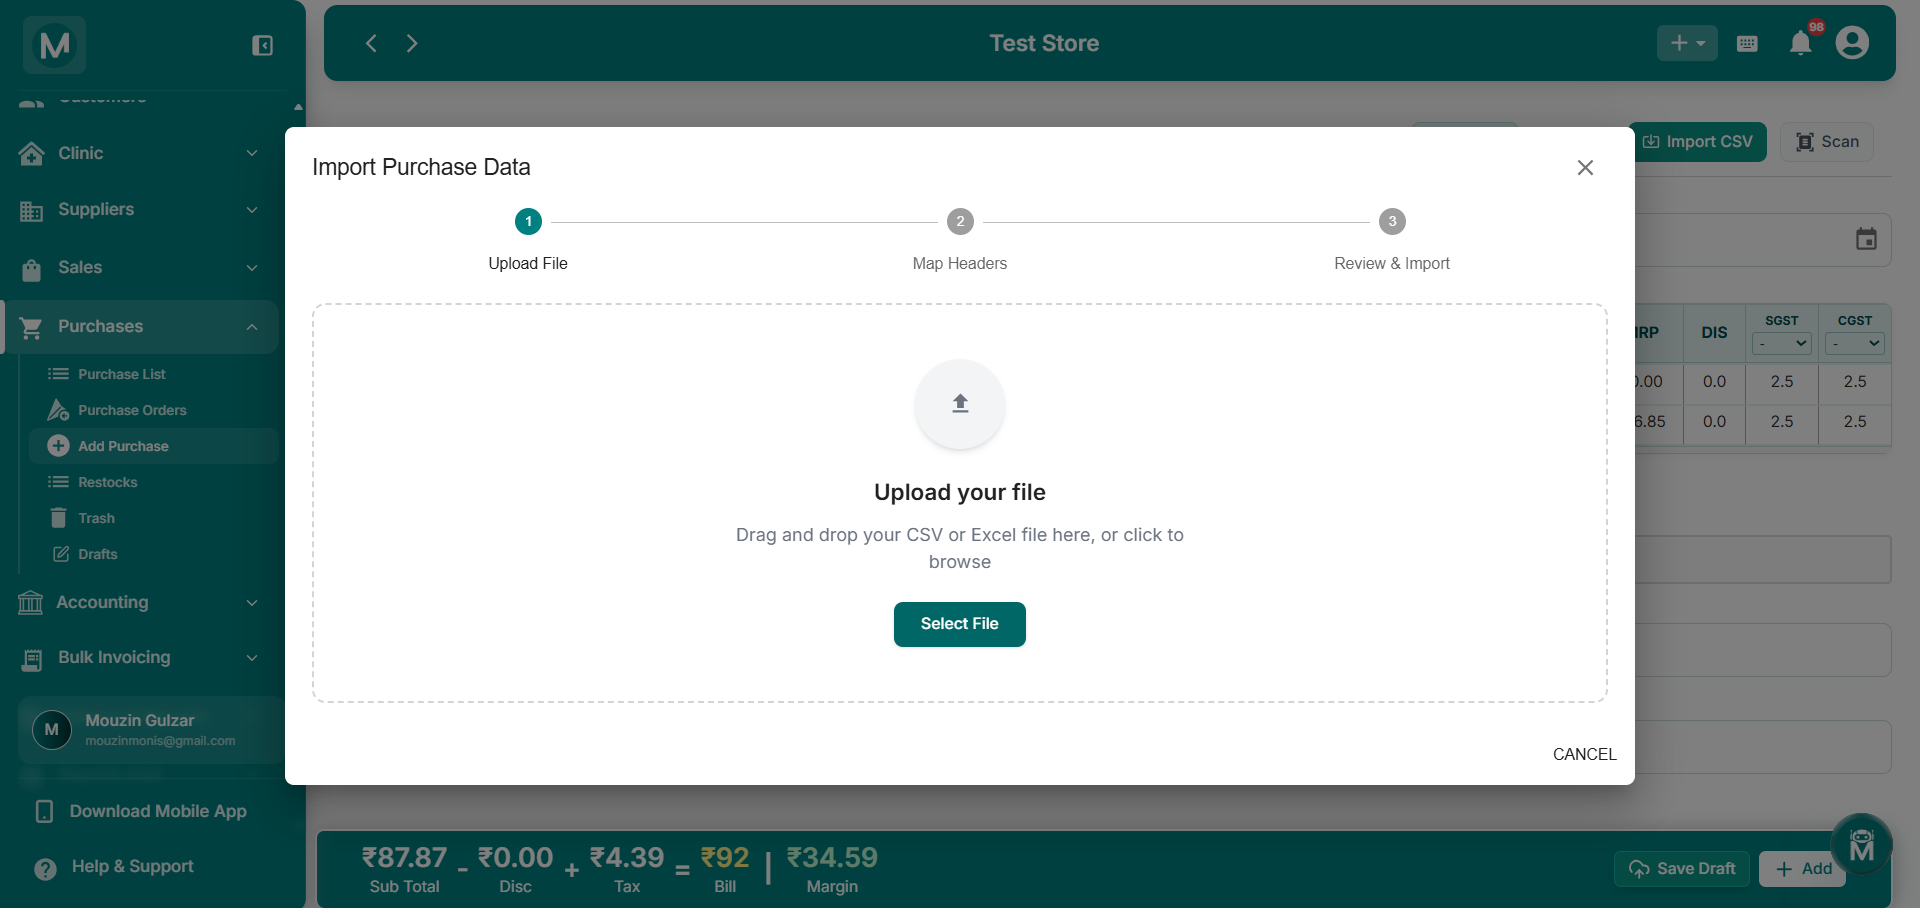
Import CSV
Bulk import purchase data via CSV or Excel with header mapping.
Drafts
Click Drafts to open the Purchase Drafts panel, which lists purchase bills that were previously scanned. Each draft shows its ID, scan status (e.g. Scanned), date and time, and the number of files attached. From here you can:
Clear
Once you've added at least one drug to the bill, a Clear button appears next to Drafts, letting you reset the form and start over.
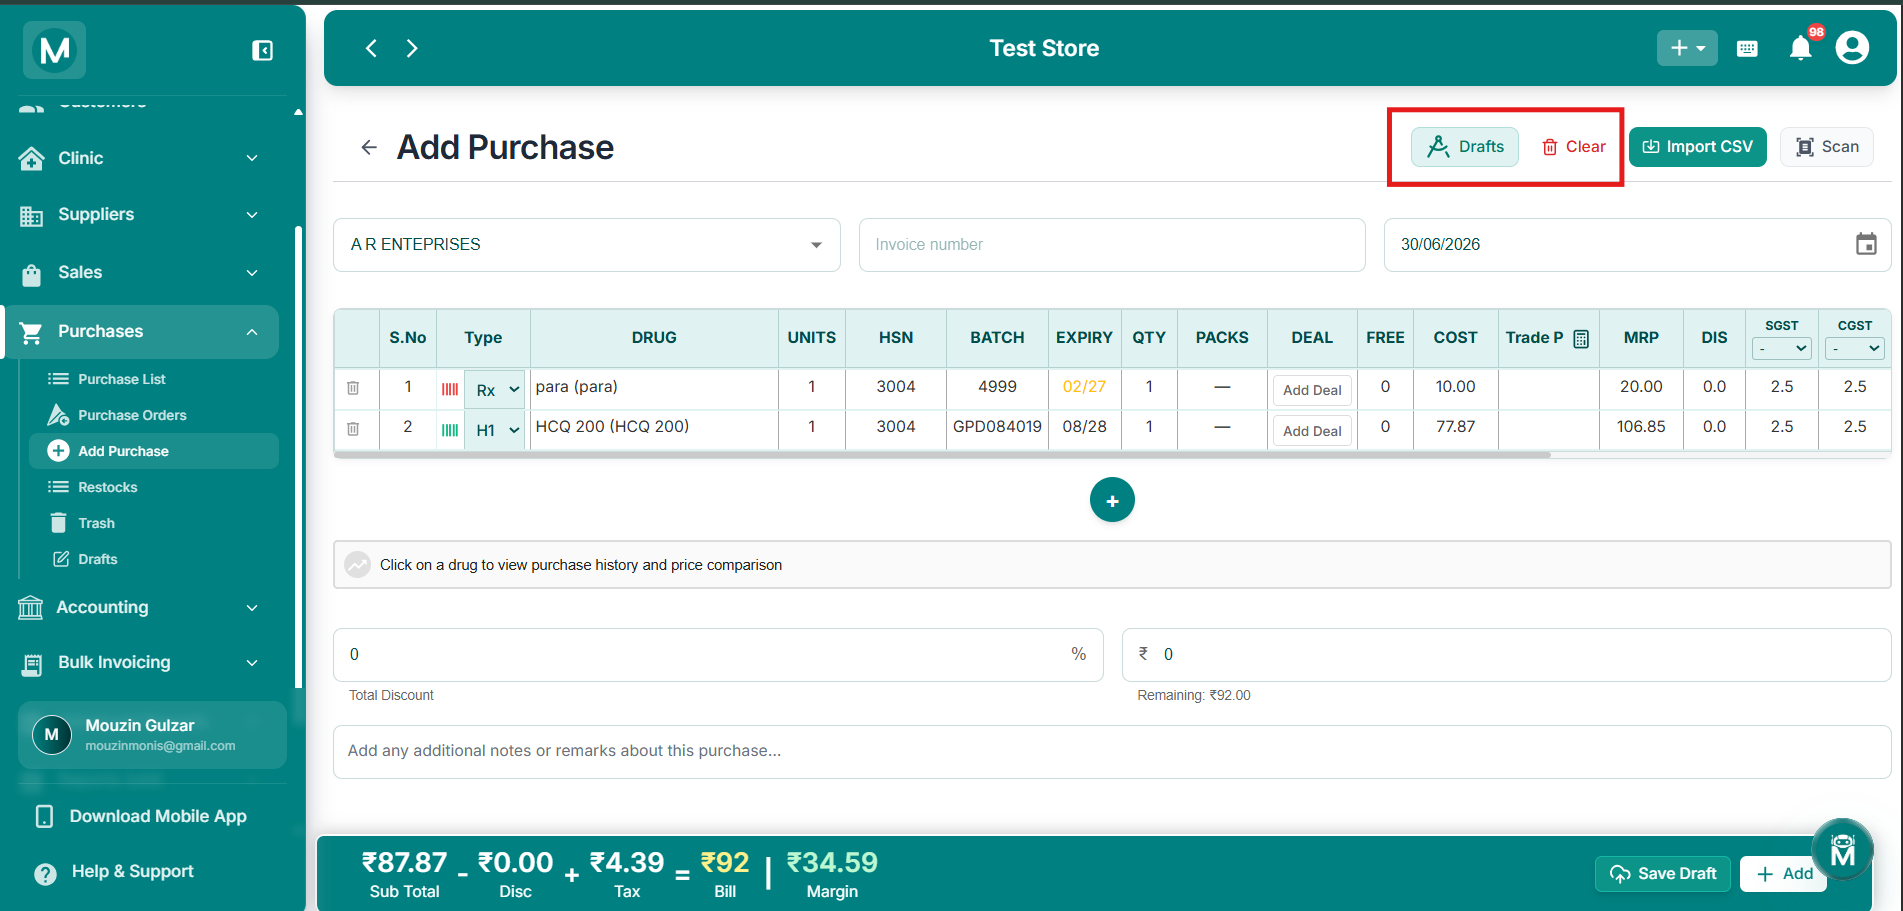
Purchase Drafts and Clear
Review, rescan, append, insert, or delete scanned purchase drafts.
Quick Tip
The + button in the top-right corner of any screen also has an Add Purchase option, so you can jump straight into this page from anywhere in MediFlux without navigating through the sidebar.
Stock In, Ready To Go
Recorded your purchase? Here's what happens next.