
Customer List
View and manage all your customers, switch between list and grid views, filter by store type, and export customer data.
The Customer List is your main directory of every customer linked to your pharmacy, both individual consumers and businesses. It gives you a real-time snapshot of outstanding dues, customer ratings, and contact details, with the flexibility to view your customers as a list or as cards.
Summary Cards
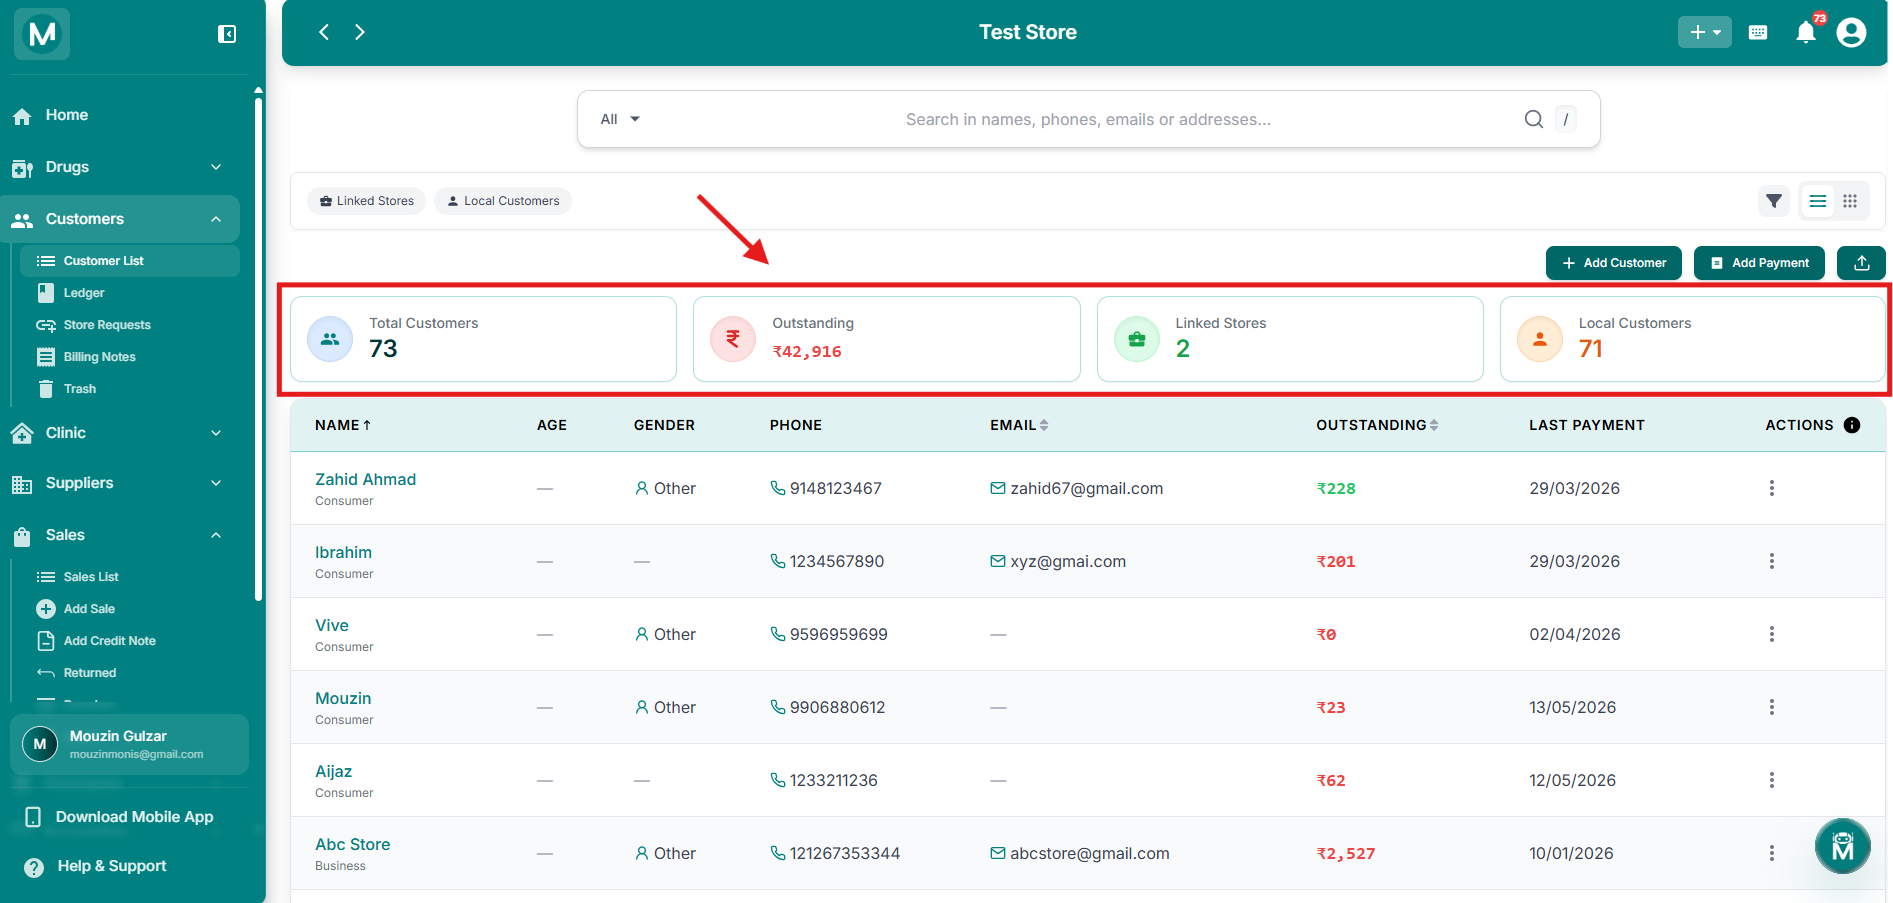
At the top of the page, four summary cards give you an at-a-glance overview of your entire customer base:
Summary cards
Four summary cards at the top of the Customer List page.
Searching Customers
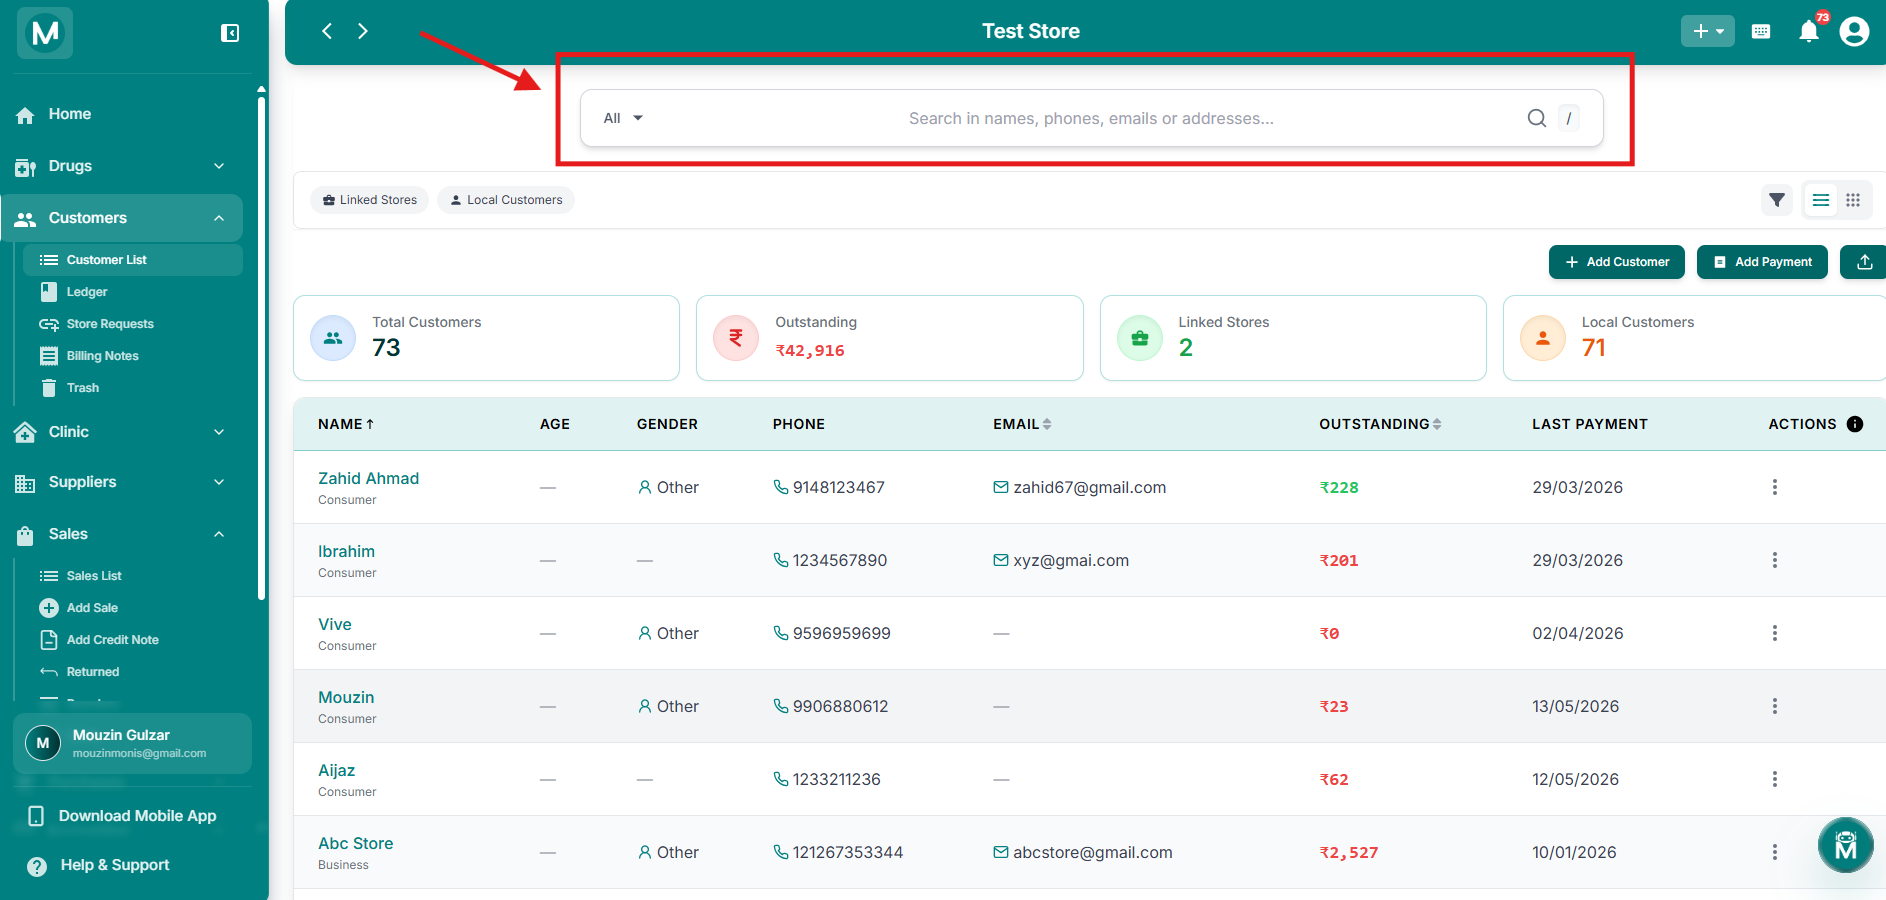
The search bar at the top lets you search across names, phone numbers, emails, and addresses. Just start typing and the list filters instantly.
To the left of the search bar is an All dropdown, use it to narrow the search scope if needed.
Search bar
Search across names, phone numbers, emails, and addresses.
Filter Chips
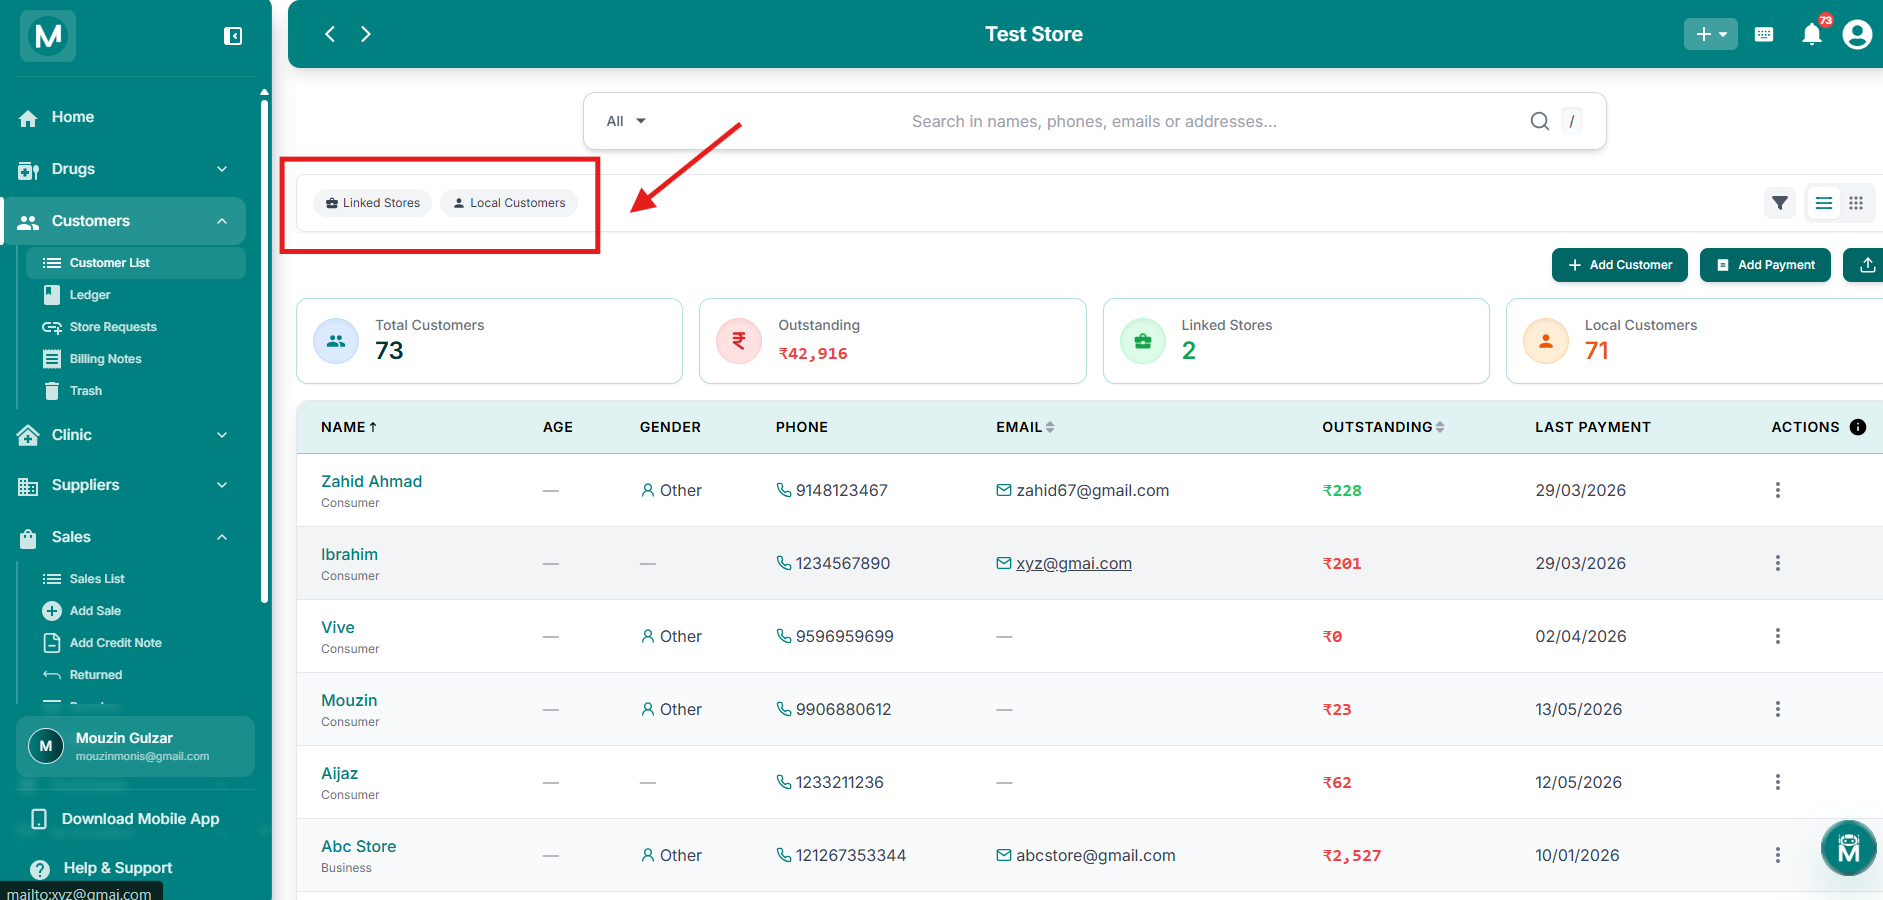
Below the search bar, two quick-filter chips let you slice the list instantly:
Filter chips
Quick-filter chips for Linked Stores and Local Customers.
Switching Between List And Grid View
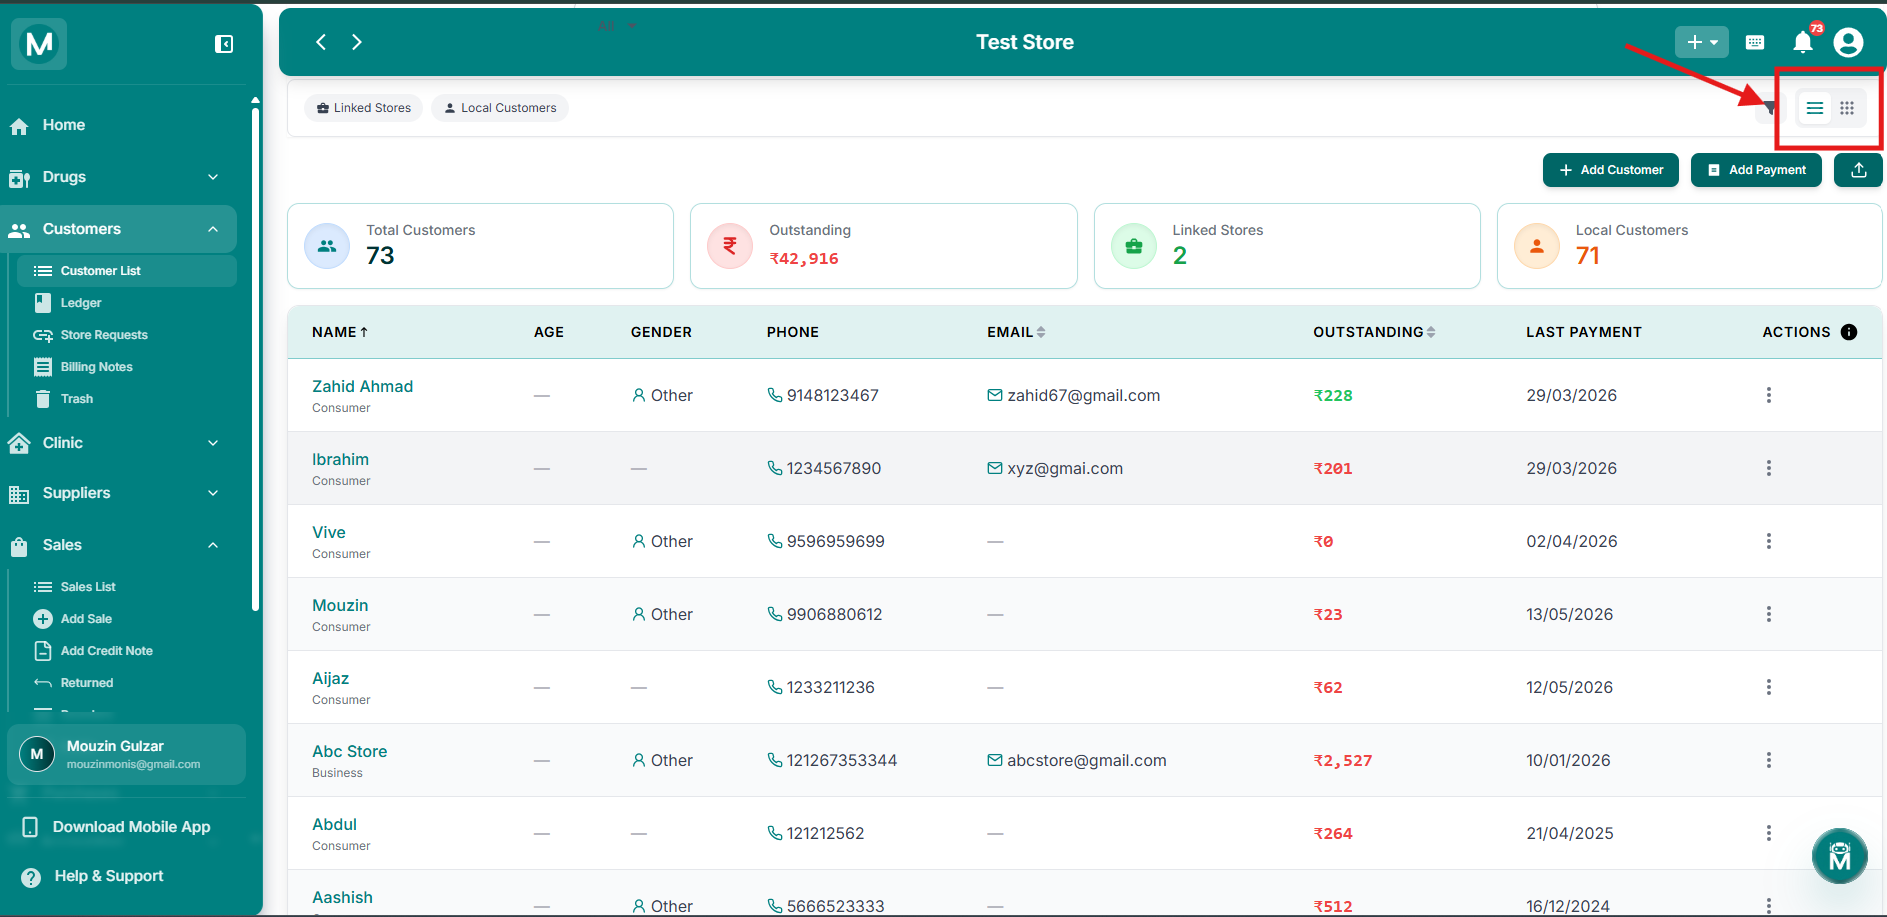
Next to the filter chips, two view icons let you switch how customers are displayed:
- List view: shows customers in a compact table format
- Grid view: shows each customer as a card with their rating badge, name, type (Consumer/Business), phone, email, address, and how long they've been a customer
List view
Customers displayed in a compact table in List view.
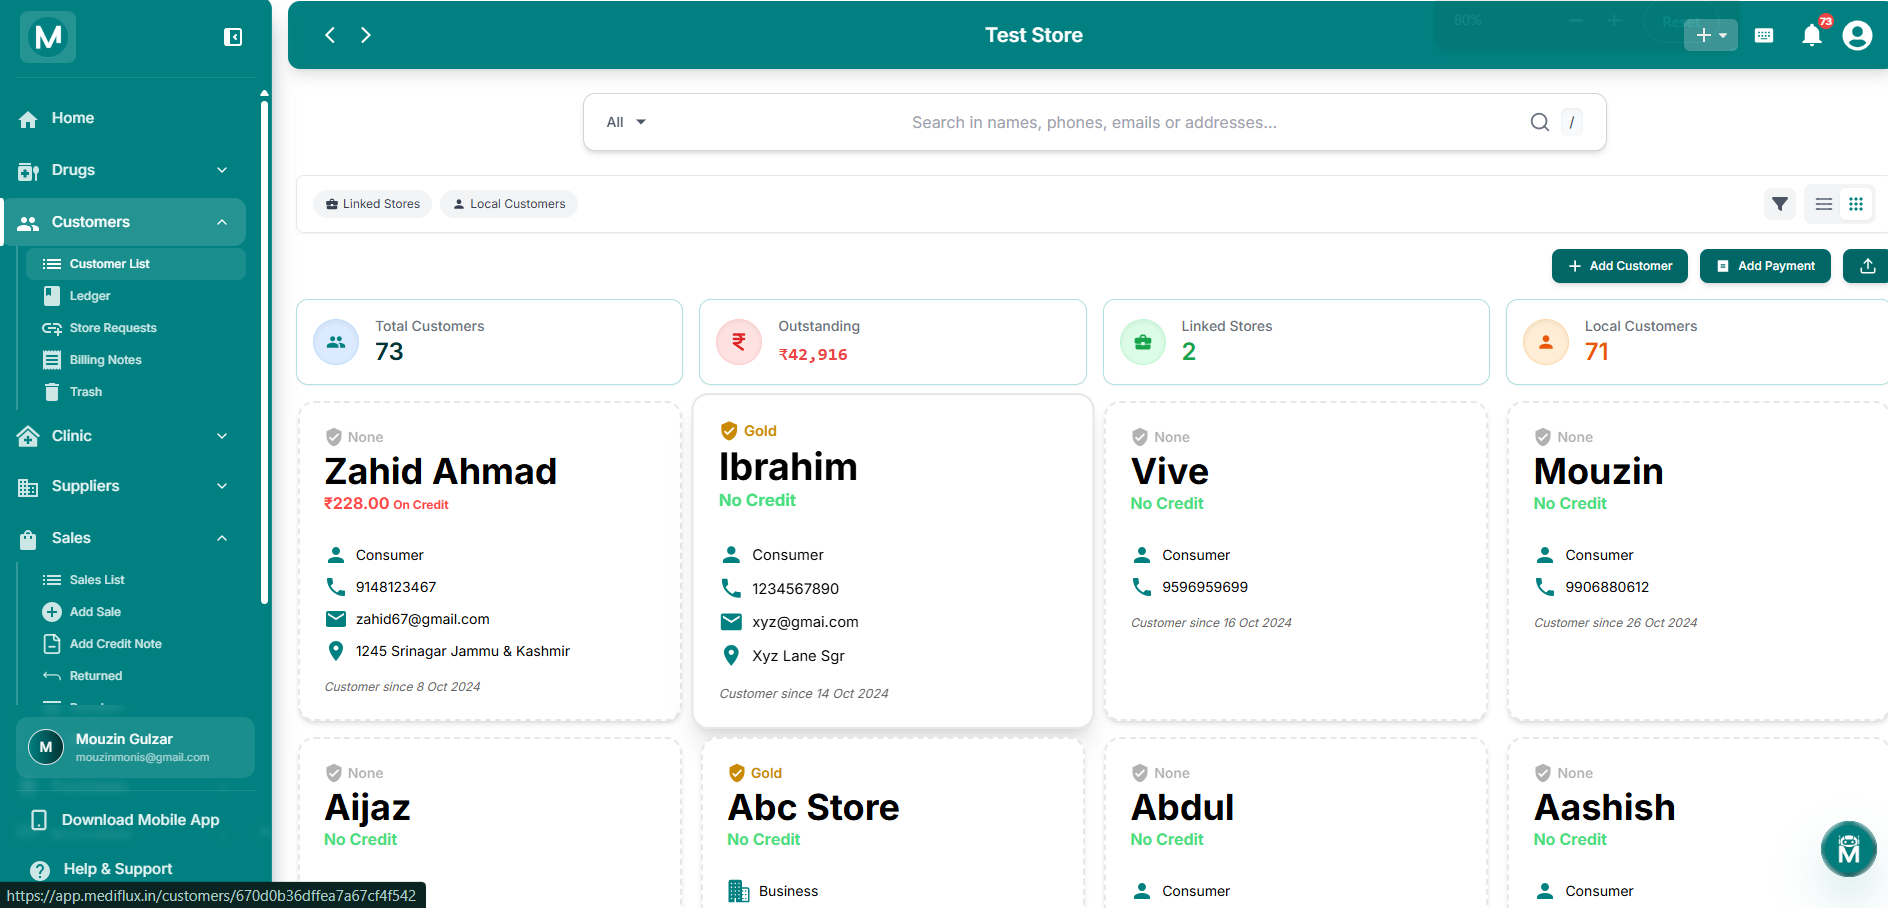
Grid view
Customers displayed as cards in Grid view.
Customer Rating Badges
Every customer card or row shows a rating badge based on the Customer Rating stars assigned when the customer was added or edited:
The Customer Table (List View)
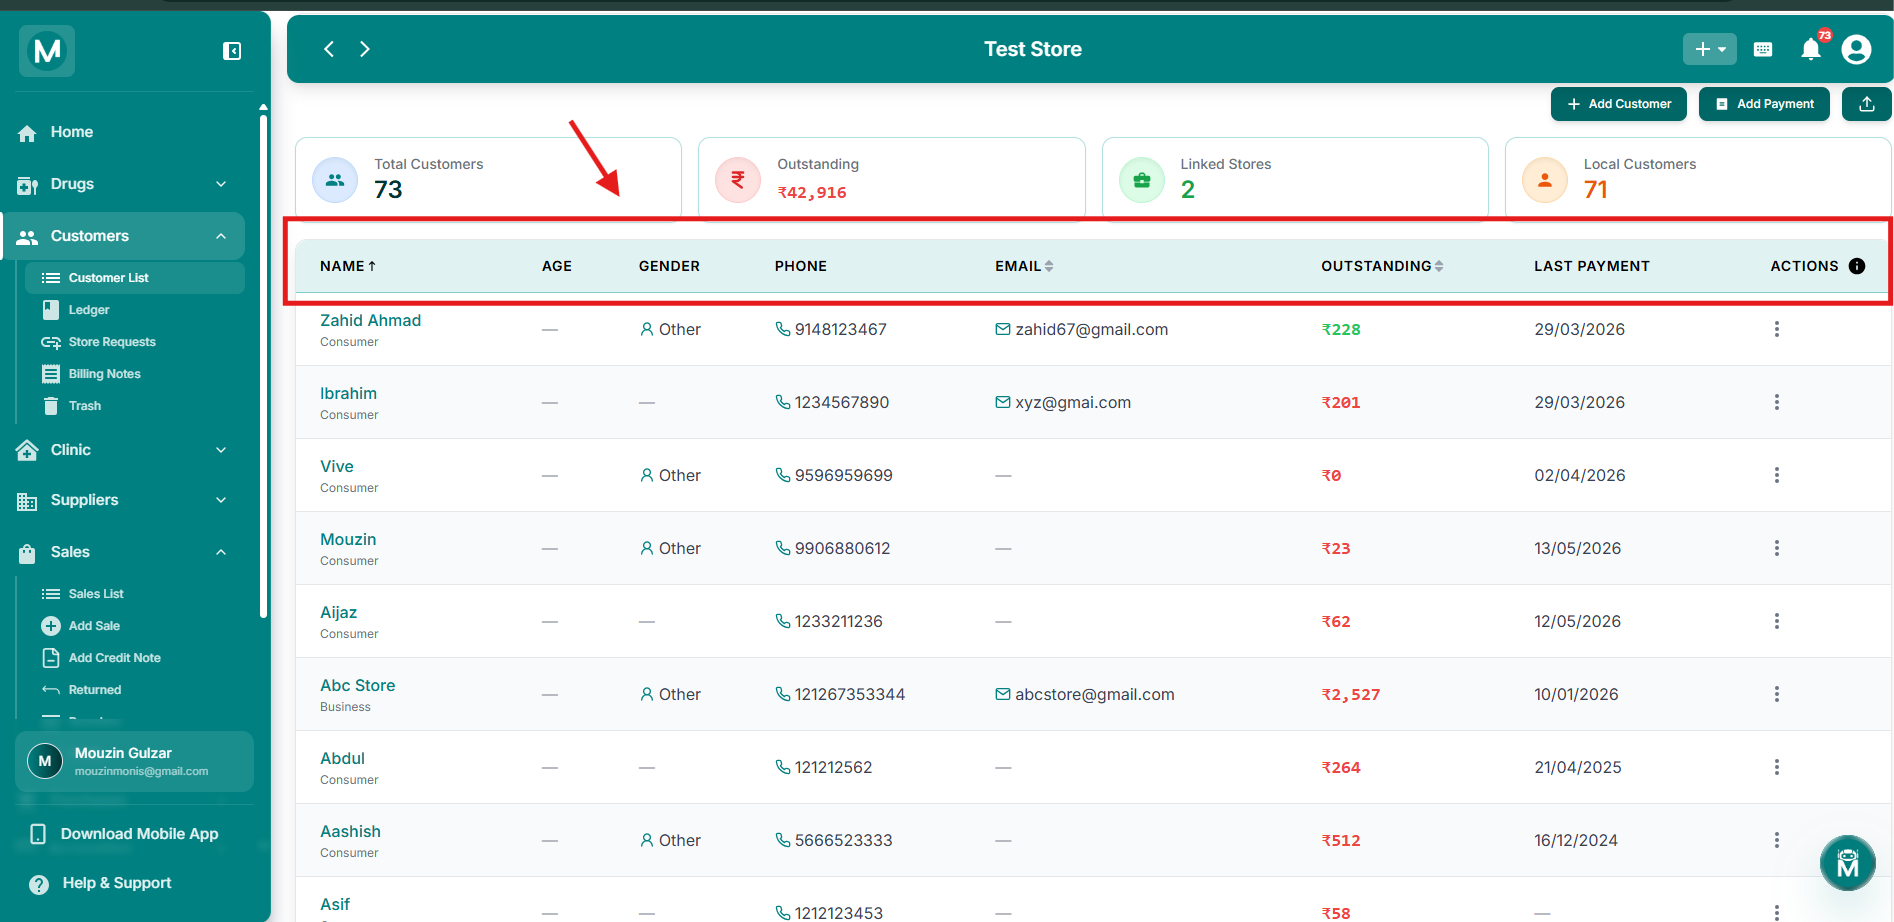
Customer table, List view
Detailed table view of all customer records.
Sorting The Table
The Name and Outstanding columns are sortable. Click the column header to toggle between ascending and descending order.
Filter & Sort Panel
Click the filter icon to open the Filter & Sort panel:
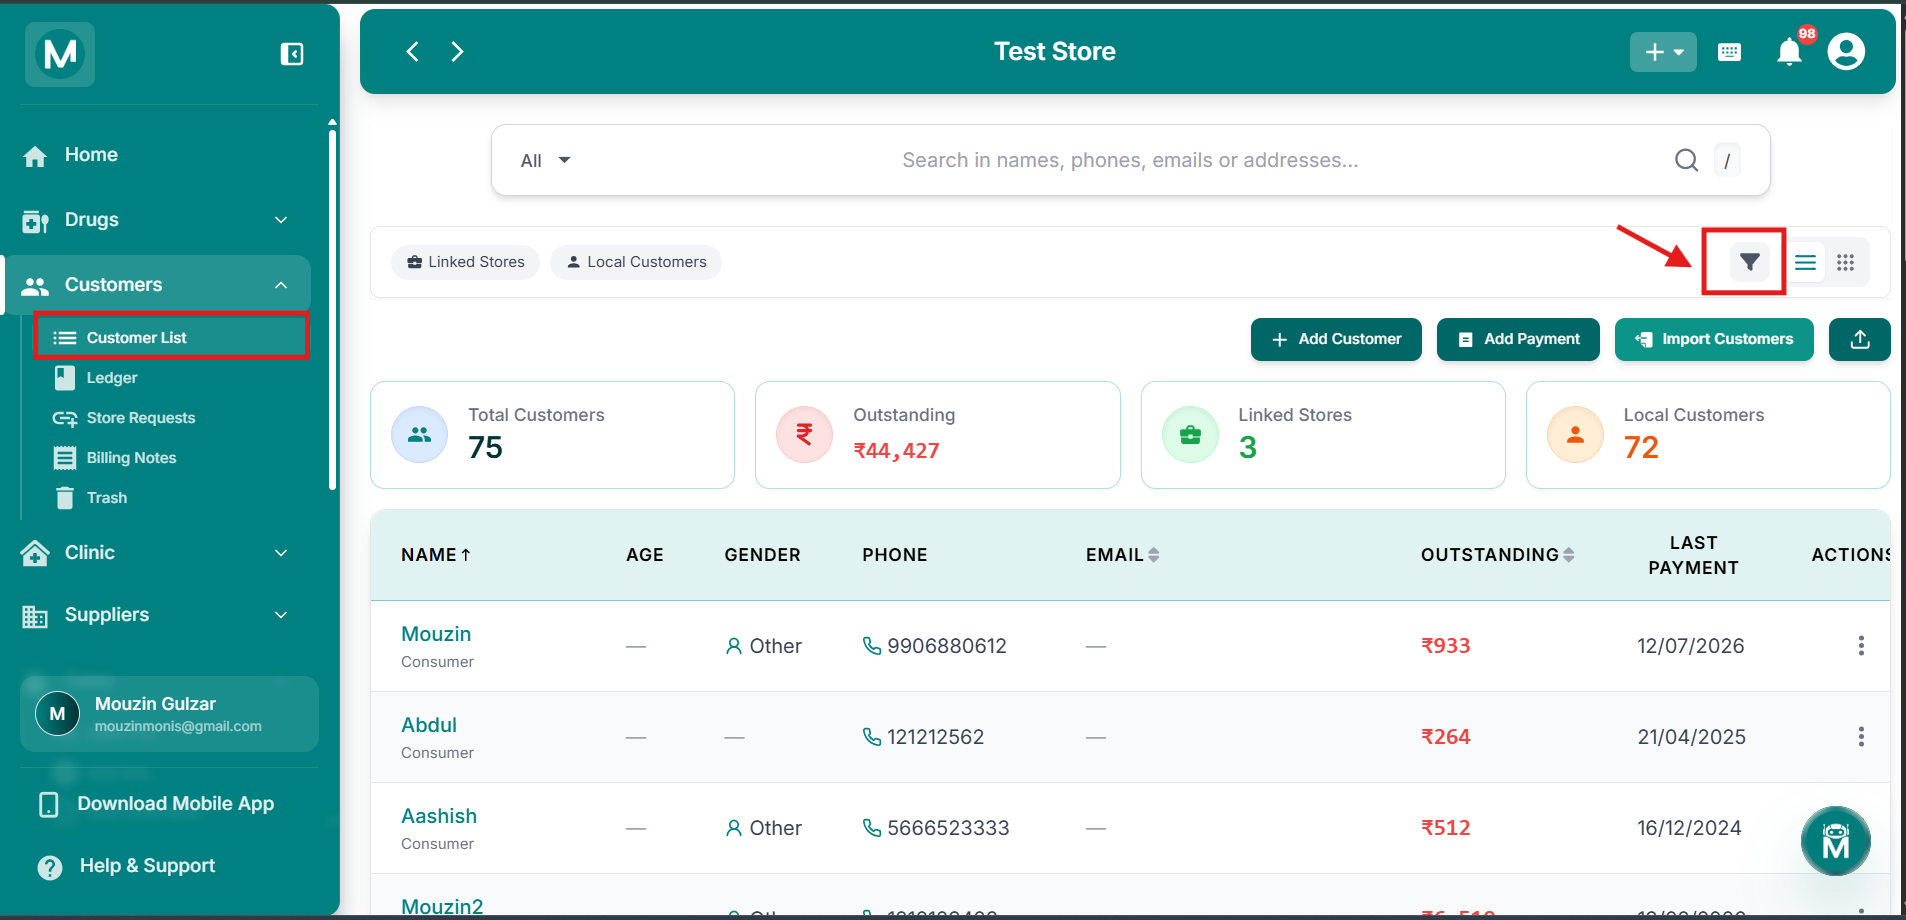
Filter & Sort Icon
Advanced filtering and sorting options.
Click Apply Filters to apply, or Reset to clear all filters.
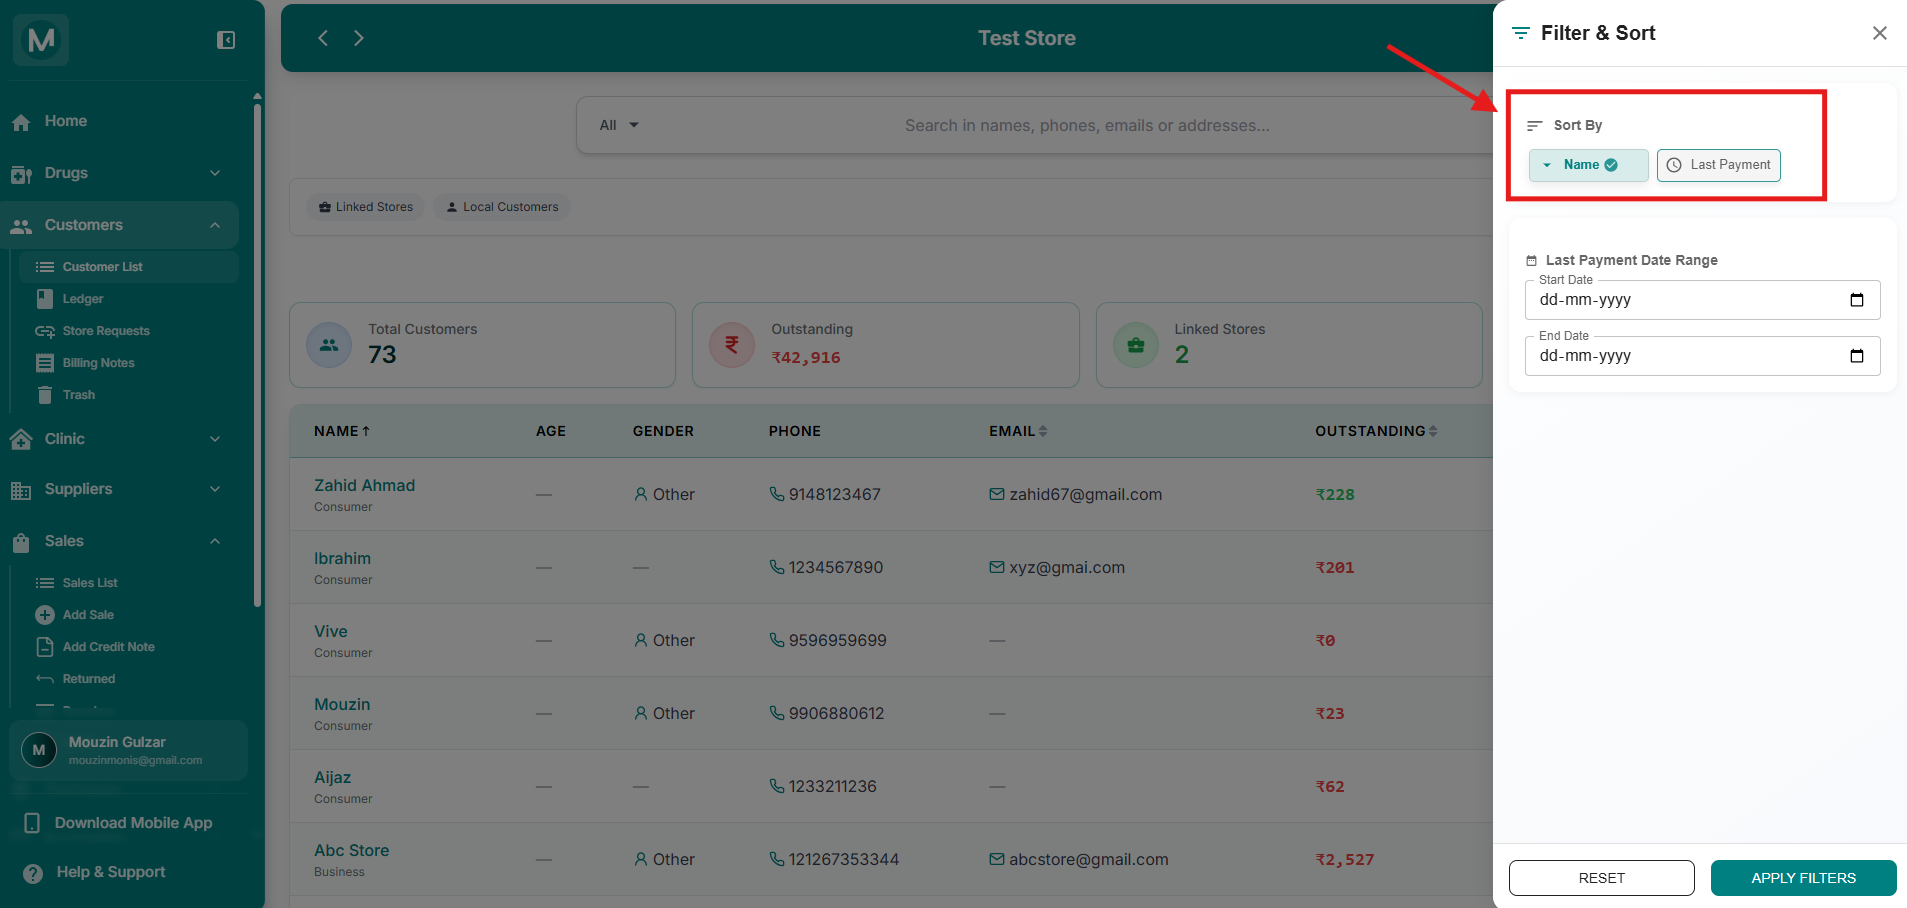
Filter & Sort panel
Advanced filtering and sorting options for the customer list.
Page-Level Buttons
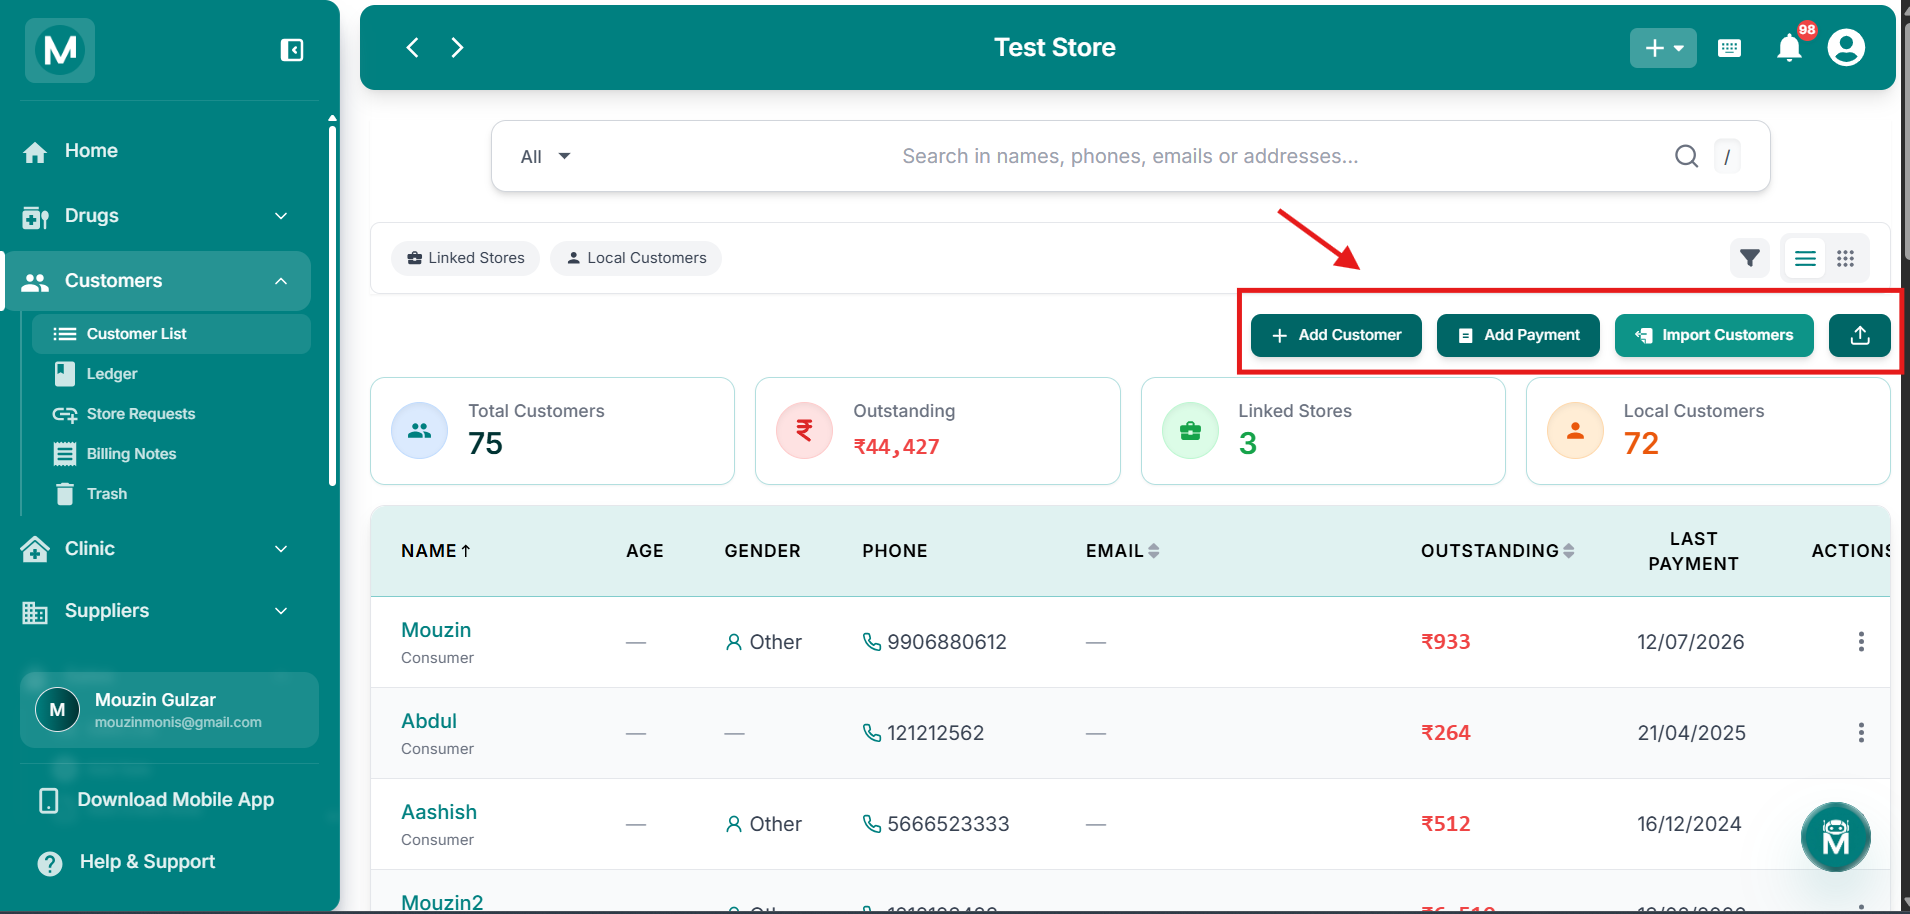
Page-level action buttons
Add Customer, Add Payment, Import Customers, and Export buttons at the top of the page.
Importing Customers
Click the Import Customers button to open the Import Customers dialog. The import process works in four steps:
Upload
Drag and drop your CSV or Excel file, or click Select File to browse. You can also Download Template to get a pre-formatted file with the correct headers.
Map Headers
Match the columns from your uploaded file to MediFlux customer fields. Ensure required fields like Name and Phone are correctly mapped.
Preview
Review the imported data before finalising. Check for errors, missing values, or duplicates.
Complete
Confirm the import and all valid customers are added to your Customer List instantly.
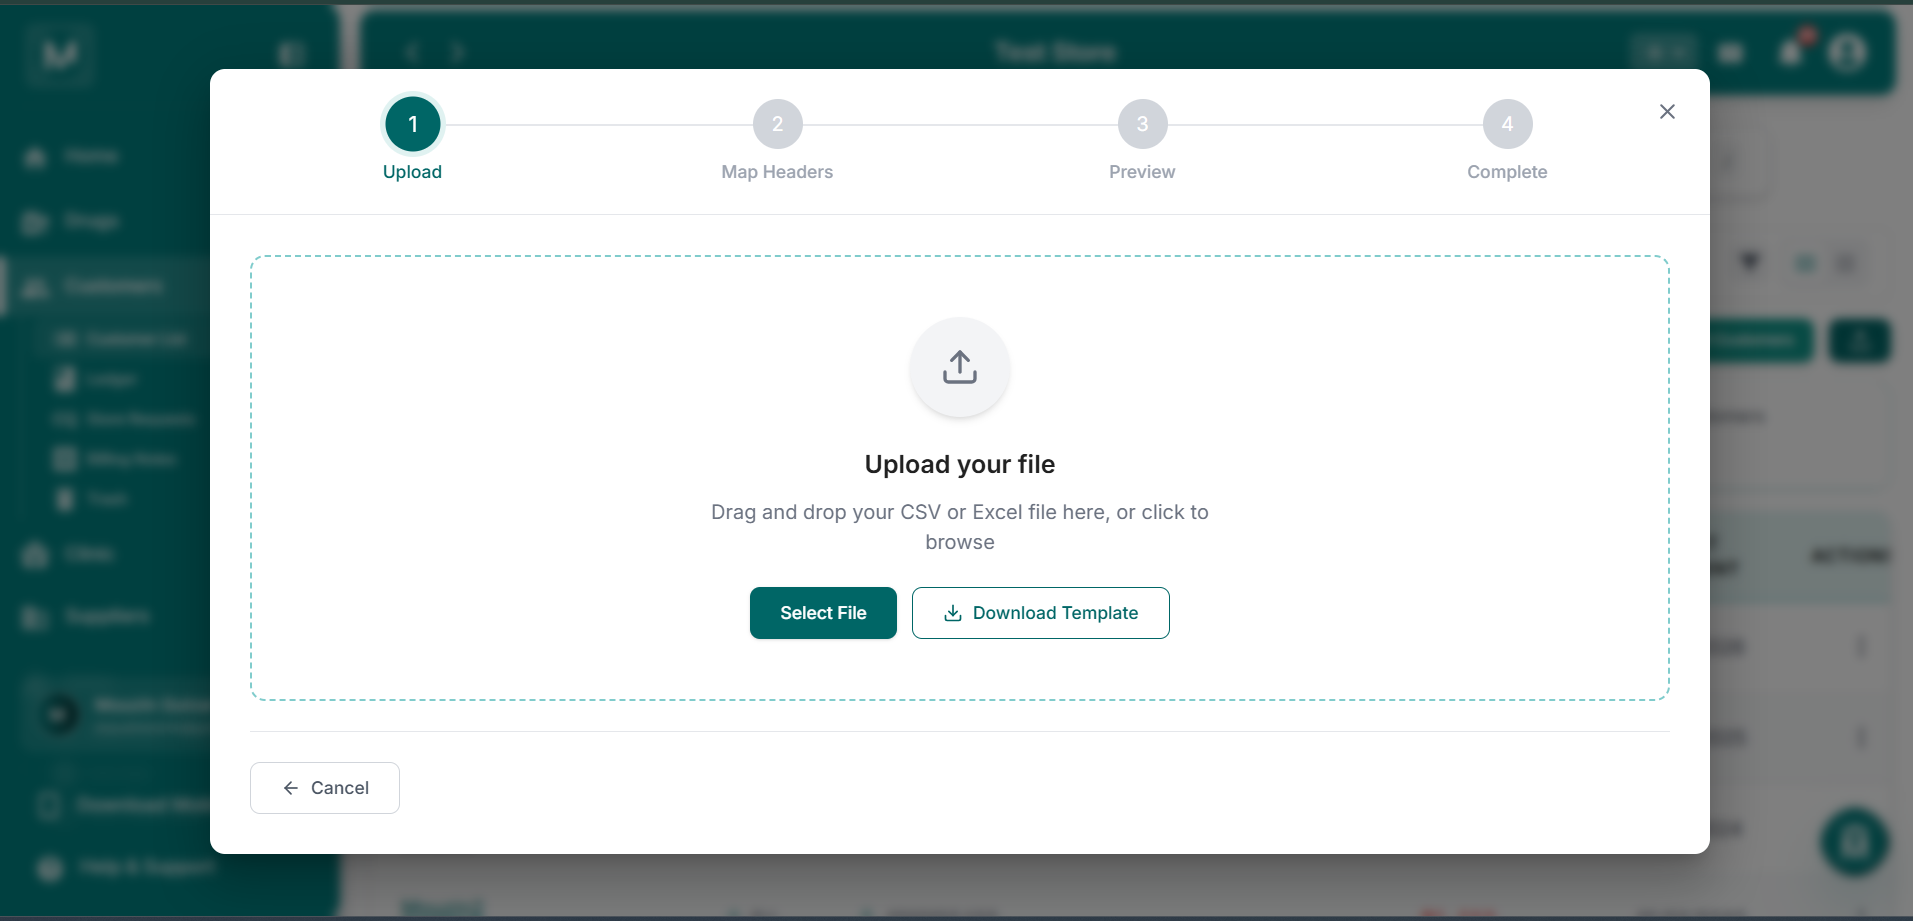
Import Customers dialog
Upload CSV or Excel file to bulk import customers into MediFlux.
Download the template first to ensure your file has the correct column headers. Required fields include Name and Phone. Optional fields include Email, Address, GSTIN, Age, Gender, and more.
Exporting Customers
Click the export icon to open the Export Customers dialog.
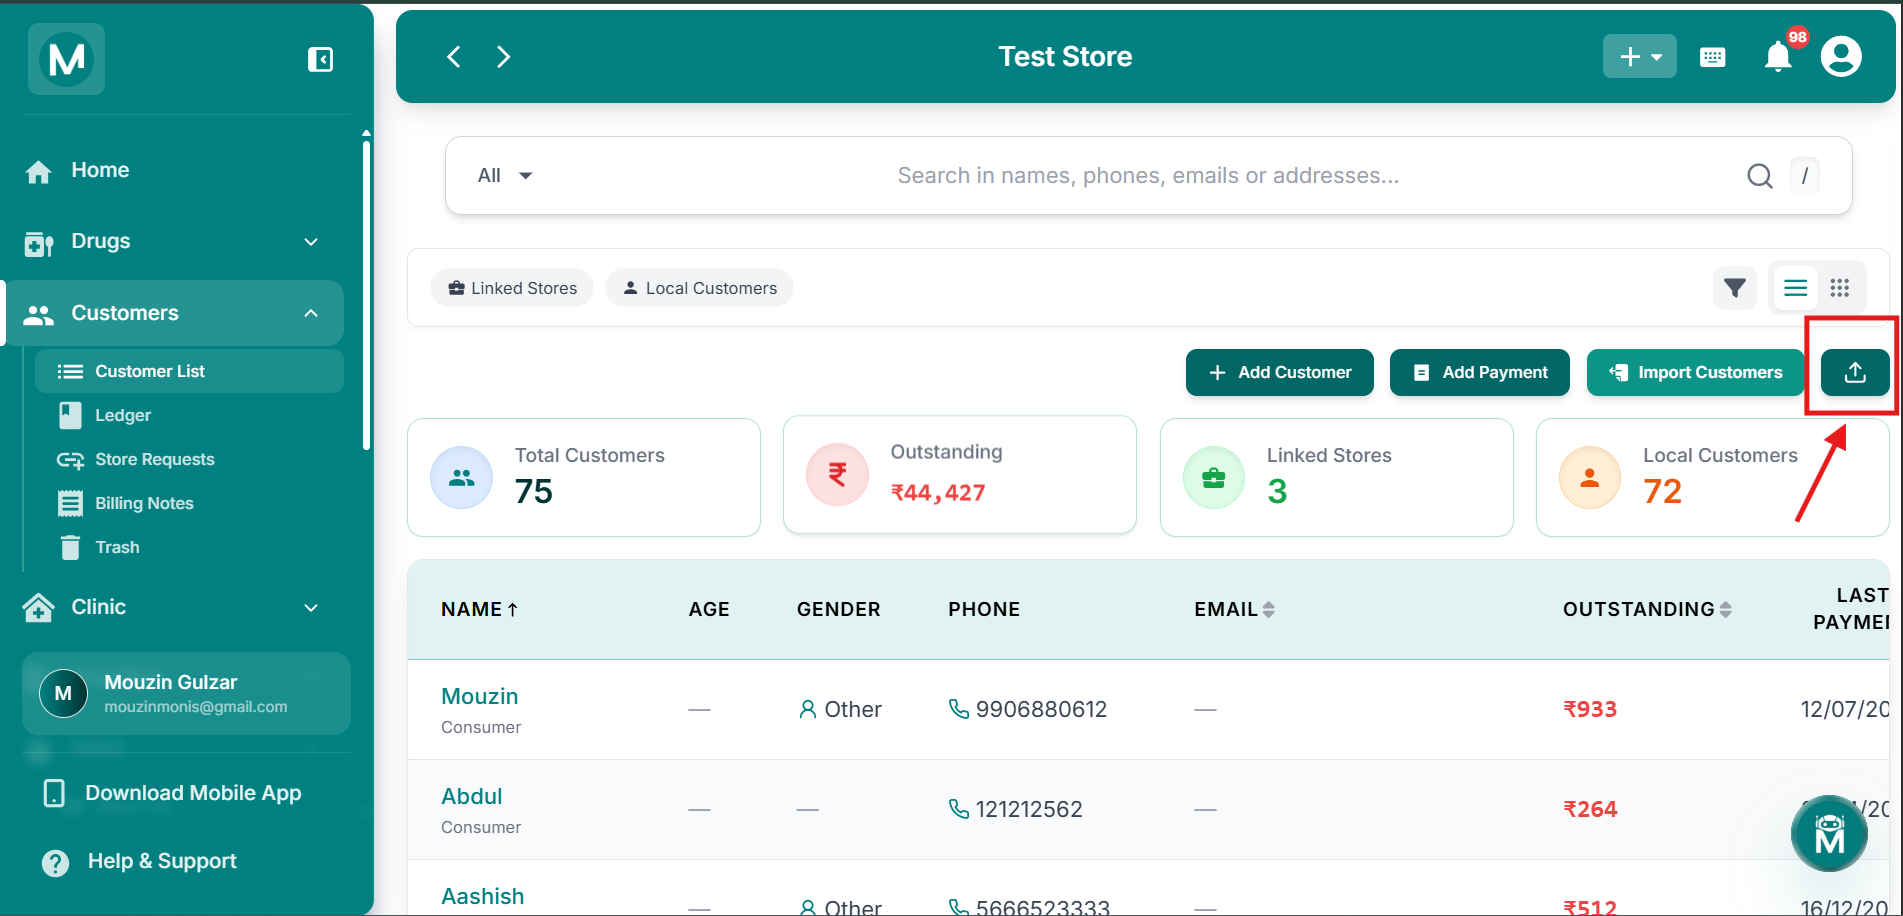
Export Customers
Export Customer in Pdf or Excel.
Columns To Include
Choose which columns to include in the export. Name is always included by default. You can select or deselect:
GSTIN, License Number, Phone, Address, Created At, Last Payment Date, Last Bill Date, Current Outstanding
Click Deselect All to clear all selections at once.
Filter By Date Ranges
Filter the export by three independent date ranges, each with quick options, All Time, This Month, Last Month, This Quarter, This Year, Last Year, or a custom From and To date:
- Created At
- Last Payment Date
- Last Bill Date
Filter By Outstanding
You can also set a Min (₹) and Max (₹) outstanding amount range.
Sort By
Choose a field and order (ascending or descending) to sort the exported data.
Export Format
Click the dropdown arrow on the Export button to choose:
- Export PDF
- Export Excel
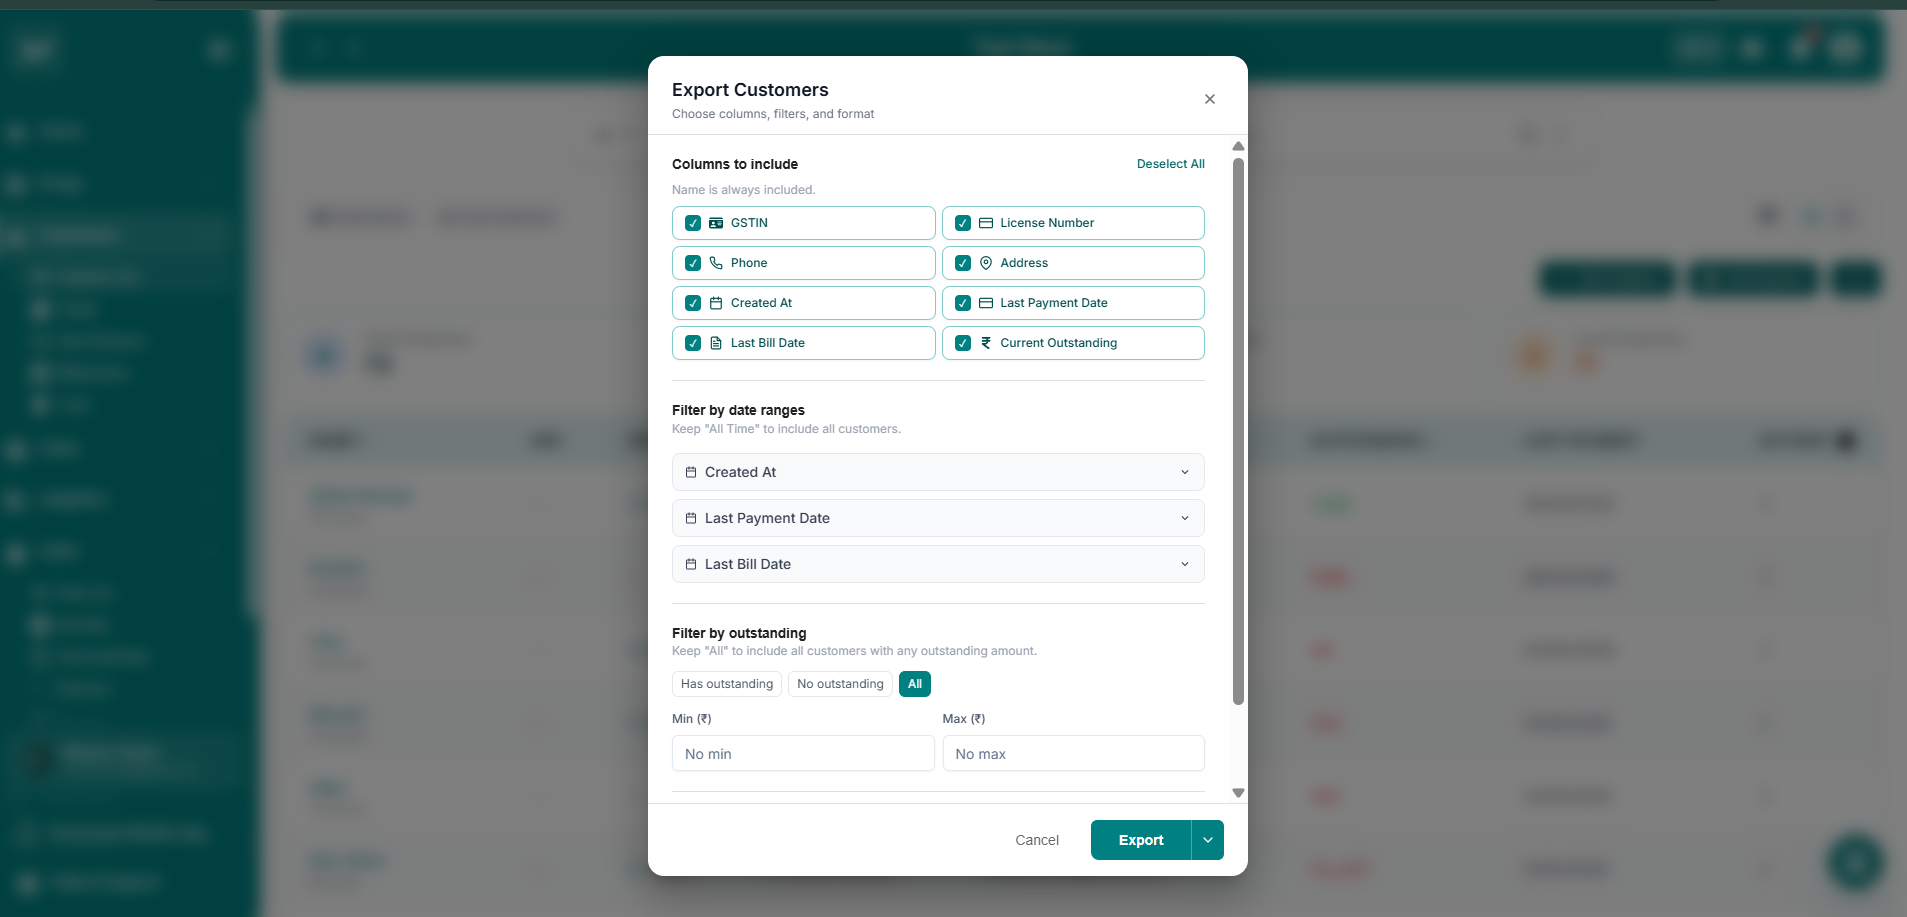
Export Customers, Columns & Filters
Select columns and apply filters before exporting.